Grok image migration matters today because a retired xAI image endpoint can keep returning images while quietly changing the quality setting underneath. On November 2, requests sent to grok-imagine-image-quality began routing to grok-imagine-image-2.0 at low quality. A request can succeed, a queue can look normal, and the image can still arrive with a different level of finish than the one a team expected.
That makes this a production change, not a naming cleanup. The safe move is to identify any workflow using the retired endpoint, decide which quality tier belongs in each stage, and verify the returned model before a client delivers images to a campaign or a review queue. The current xAI release notes describe the redirect, while the active Grok Imagine Image V2 on Wiro exposes low and medium quality controls directly.
What changed in the Grok image migration
The retired endpoint does not simply disappear. xAI routes it to the newer image model with low quality selected. That protects callers from an abrupt failed request, but it removes the loud signal that normally forces a code review. A team that compares only HTTP status codes can miss the change.
The first practical difference is intent. A job sent to an endpoint with a quality-oriented name may have been used for final assets. The replacement path defaults to low quality, which suits prompt exploration and composition checks. It may not match the detail level that a previous final-review workflow expected. The right response is not to assume every result is worse. It is to make the choice explicit.
The active model supports 1K and 2K output, low and medium quality, plus a broad set of aspect ratios. That is enough control for a staged process. Use a low-quality setting to settle the idea, then rerun a selected prompt at the chosen delivery settings. For a fuller look at that staging logic, see Grok Imagine Image V2 quality tiers.
3 Grok image migration checks before a batch ships
1. Search for the retired endpoint
Check templates, SDK configuration, server-side defaults, and any saved workflow preset. Search both code and no-code automations. A hidden preset is easy to overlook because the redirect allows the job to finish. Record the replacement model and chosen quality setting beside the workflow owner. That turns a silent platform change into a visible production decision.
2. Pin the quality setting for final work
Do not let a default decide what counts as a finished asset. Mark exploration runs as low quality if fast composition checks are the goal. Mark final candidates with the resolution, aspect ratio, and quality setting the deliverable requires. The official xAI migration guidance is the useful reference for the endpoint change. The workflow decision still belongs to the person shipping the image.
3. Log what served the request
Store the requested model, returned model, quality, resolution, aspect ratio, prompt version, and completion time with each asset. That record helps when an art director spots a shift in detail two days later. It also makes a regression test possible. A successful request is not enough evidence when a provider has introduced a redirect.
Run a small output test before changing a whole library
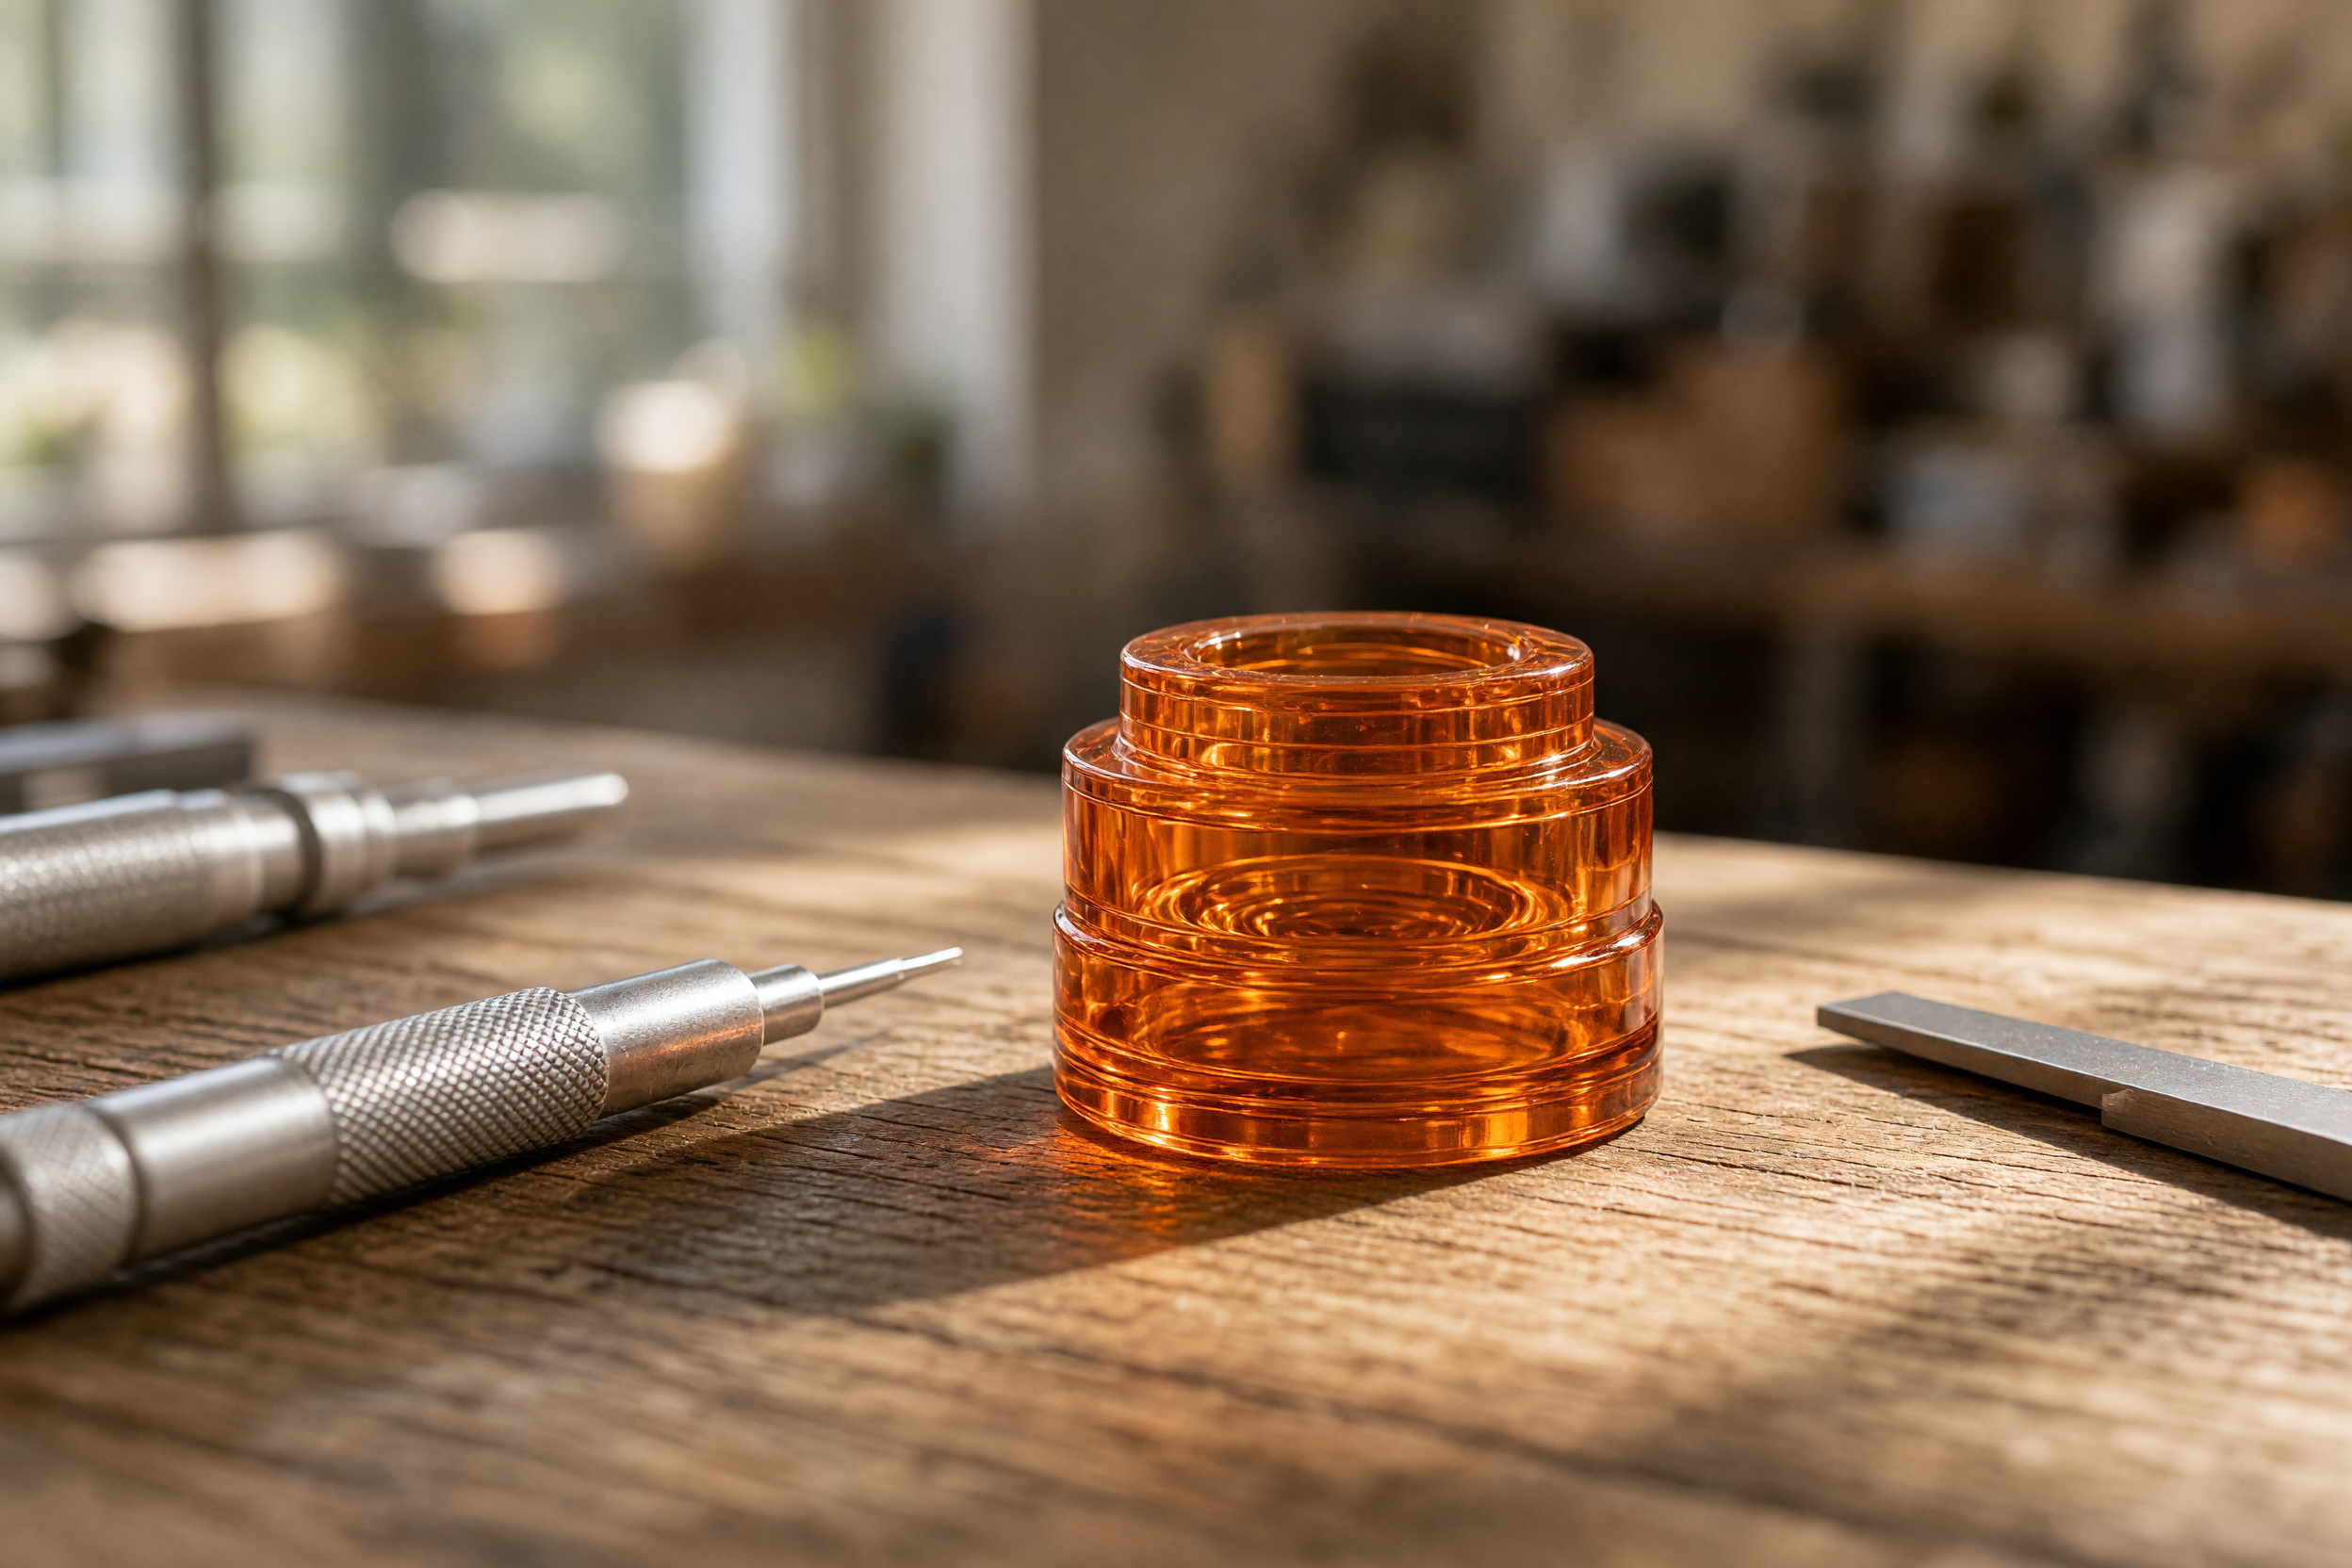
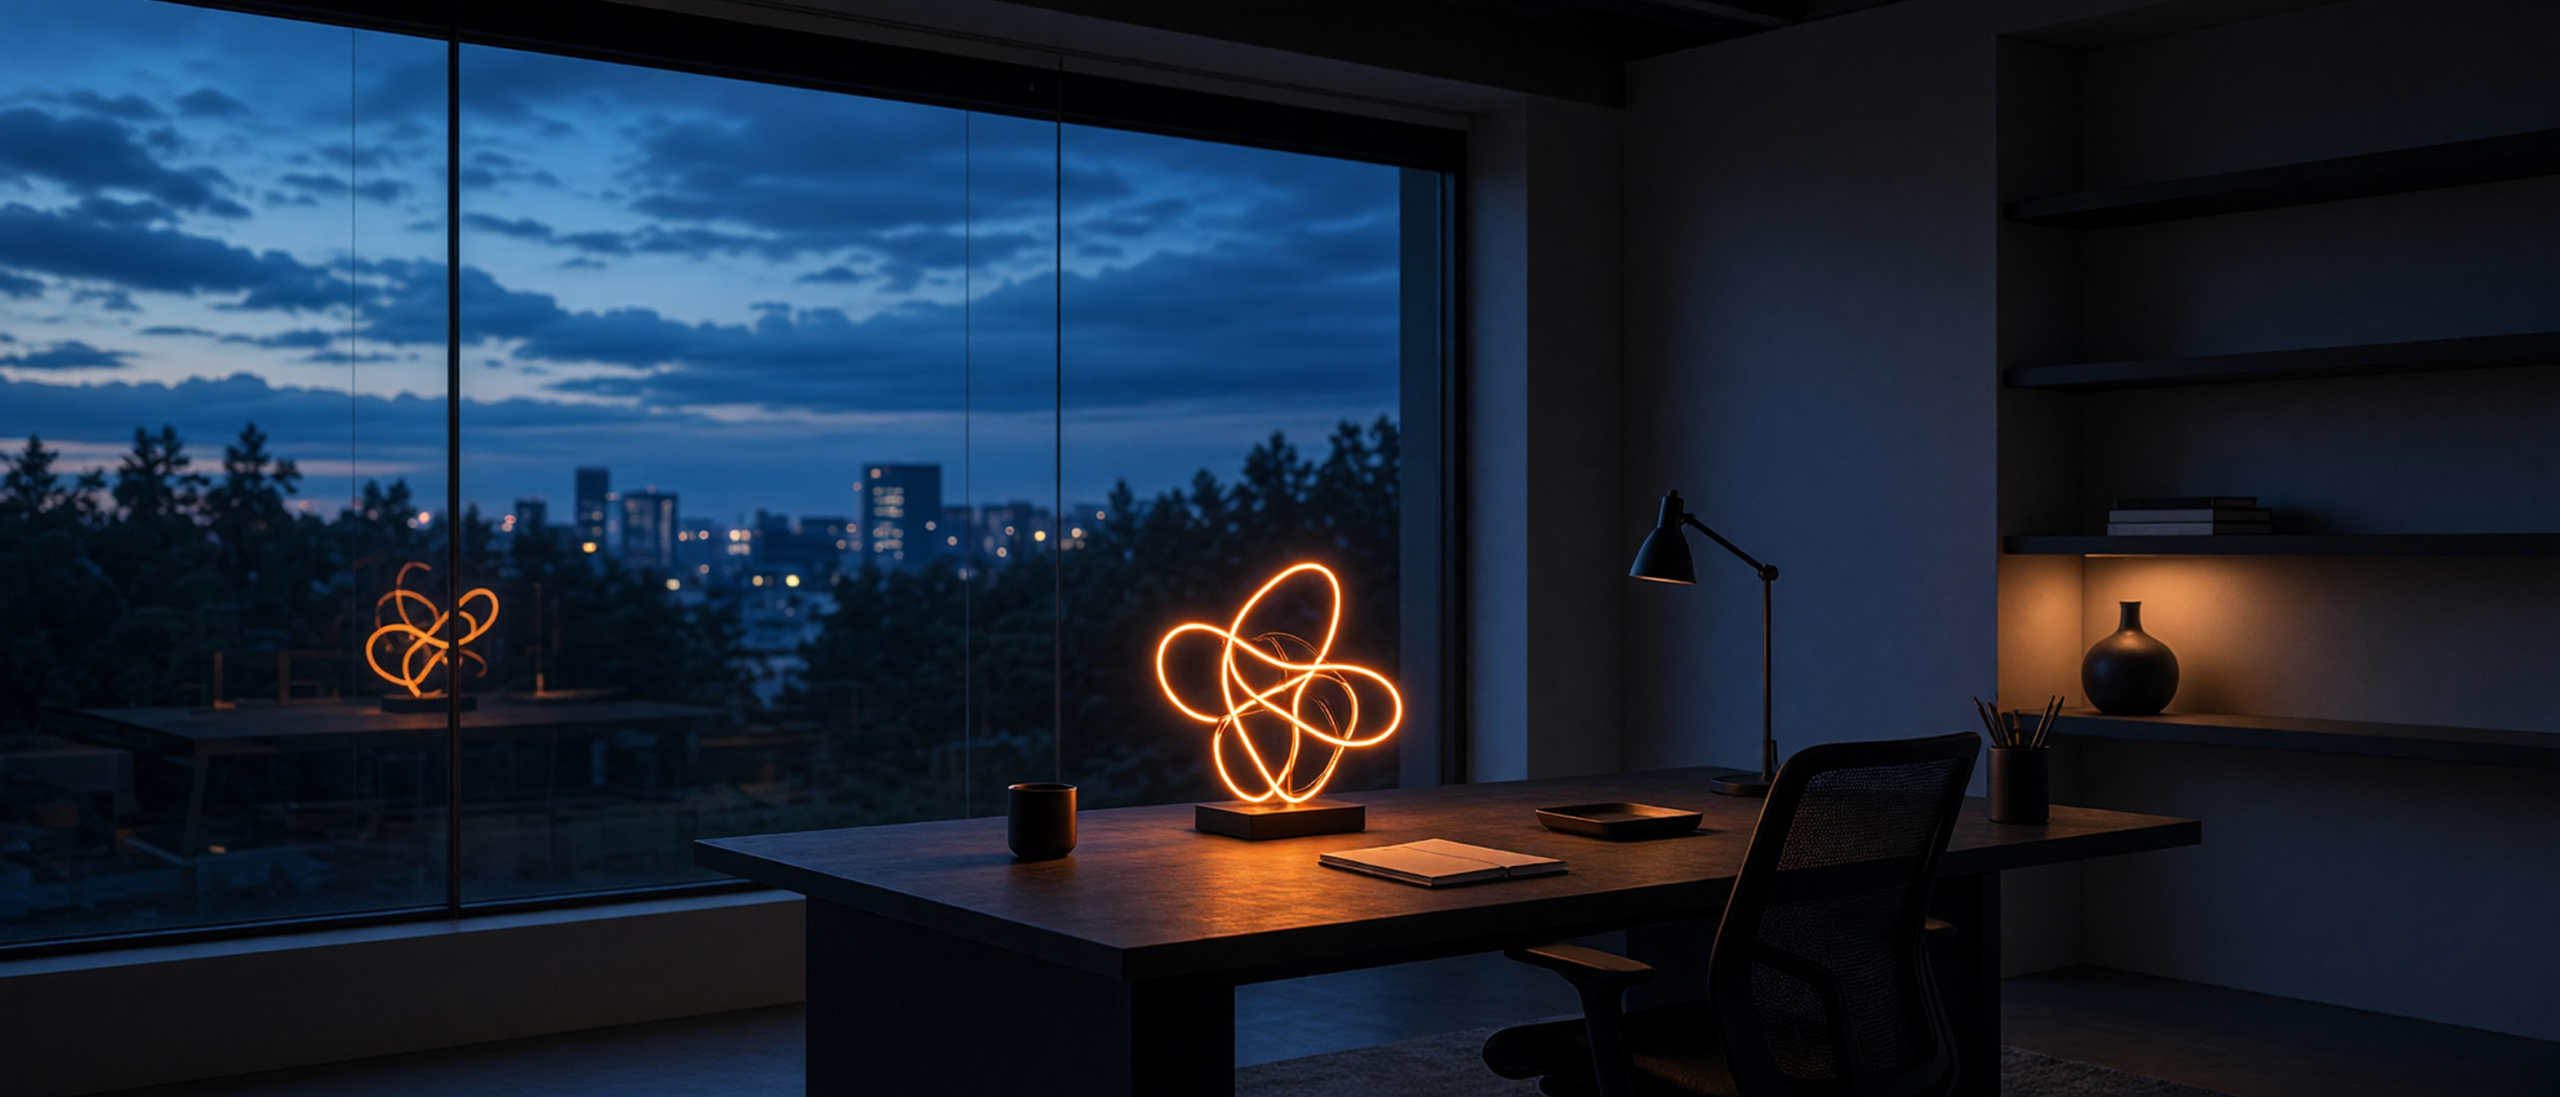
A migration test does not need a huge benchmark. Pick two prompts that expose the decisions a workflow actually cares about. One should test close-up texture and edges. The other should test wide composition, empty space, and lighting. Hold the prompt steady. Then compare the active model with the quality setting used in real work.
The first test above uses reflective glass and metal in a close product composition. Those materials reveal whether the highlight shape, rim definition, and background separation match the required finish. It is not a claim that one image proves a universal result. It is a fast way to catch a workflow that was relying on a different default.
The second test uses a wide frame. Wide formats can fail differently from close-ups because the subject occupies less of the canvas and the composition must carry more of the story. Check the empty areas, horizon line, small desk objects, and whether the requested aspect ratio feels intentional instead of cropped after generation.
A safer workflow after the Grok image migration
Split image production into three simple stages. First, use low quality for rough directions and composition checks. Second, select the prompt that has the right subject placement and visual idea. Third, run that prompt with an explicit final quality, resolution, and aspect ratio. Save the settings with the approved file.
This approach keeps a provider default from becoming an untracked art direction choice. It also gives a team a clean answer when someone asks why two images with similar prompts look different. The answer can come from a recorded setting instead of a guess.
| Stage | Set explicitly | Review for |
|---|---|---|
| Exploration | Low quality and delivery ratio | Composition, subject, mood |
| Selection | Prompt version and crop | Consistency across candidates |
| Final output | Resolution and chosen quality | Edges, materials, small details |
Do not treat a redirect as a crisis. Treat it as a prompt to make the settings visible. A team that already stores output metadata can validate this Grok image migration in a short test cycle. A team that does not should start with the two prompts that matter most to its work, compare the results, and then update the saved preset.
Run the same brief at low and medium quality on Wiro, inspect the output where it will actually be used, and keep the exact settings with the final asset.